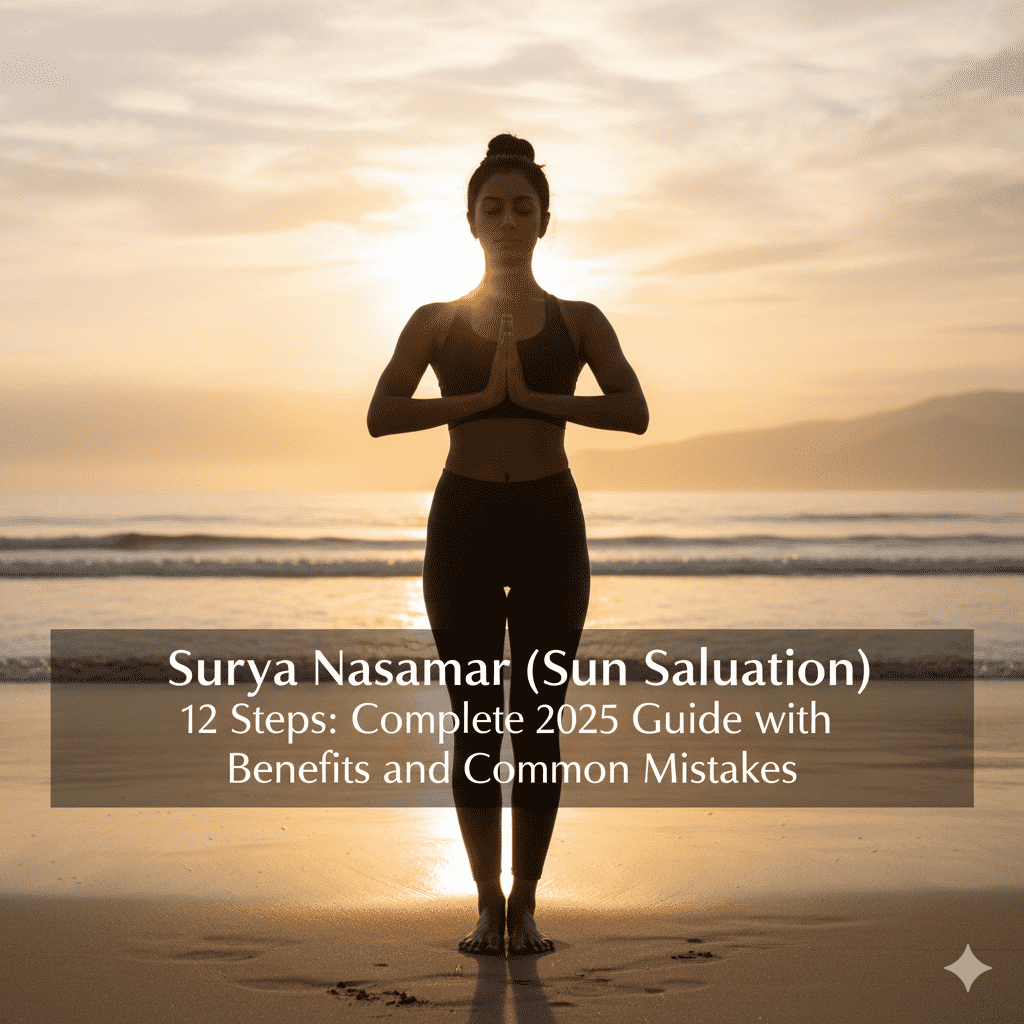
Surya Namaskar—often called Sun Salutation—is a flowing cycle of twelve postures that coordinates movement with breath to develop mobility, strength, and mental focus in a compact practice suitable for most levels. Across major yoga traditions and modern instruction, the sequence is taught as both a warm‑up and a standalone routine, with optional mantras adding a meditative layer to the core Surya Namaskar breathing sequence.
What is Surya Namaskar
Surya Namaskar is a standardized loop of twelve asanas performed in a consistent order, beginning and ending with a centering posture to stabilize attention and align posture before and after each cycle. Because it touches the spine, shoulders, hips, and hamstrings while training synchronized inhale–exhale patterns, it is widely used to anchor a home practice and transition into longer sessions.
Why this guide is 2025‑ready
This article follows Google’s people‑first playbook by presenting a clear step‑by‑step walk‑through, practical breath cues, optional mantras, evidence‑aligned benefits, safety modifications, and A/B variations in clean sections.
The language and structure mirror trusted yoga publishers so that global search intent for “steps,” “benefits,” “mistakes,” and “Sun Salutation A vs B” is addressed comprehensively without jargon.
Benefits at a glance
Consistent practice can improve flexibility and joint range through repeated hip hinges and spinal waves while building functional strength via planks and controlled transitions. Practitioners often report better energy and mood from rhythmic breath‑movement, though intensity and pace should be adapted for comfort and sustainability.
Breathing pattern and pacing
A simple rule is to inhale on openings and lifts and exhale on folds and stabilizations, keeping the cadence smooth and mindful throughout each round. Rushing breaks breath coordination and increases alignment errors, so maintaining a steady tempo with complete, unforced breaths is recommended for quality and safety.
Optional mantras for each step
Many lineages pair each of the twelve steps with a Surya Dev Namaskar Mantra—such as Om Mitraya Namaha or Om Ravaye Namaha—to reinforce focus, gratitude, and a contemplative mood during practice. Mantra use is optional and inclusive, and it should not replace breath timing, which remains the primary anchor for technique and ease.
Preparation and safety
A brief warm‑up for neck, shoulders, wrists, hips, and ankles reduces stiffness and helps transitions feel more coordinated before beginning rounds. Practice on an empty or light stomach, in a clear space, and plan to scale range and tempo based on capacity, especially when returning after a break.
The 12 Steps (Sanskrit + English + Breath)
Step 1: Pranamasana (Prayer Pose)
Stand tall with feet grounded, palms joined at the heart, and gaze steady, taking a natural or gentle exhale to center attention and prepare for rhythmic movement. Keep the ribs stacked over the pelvis with neutral neck alignment to establish a stable baseline for the flow.
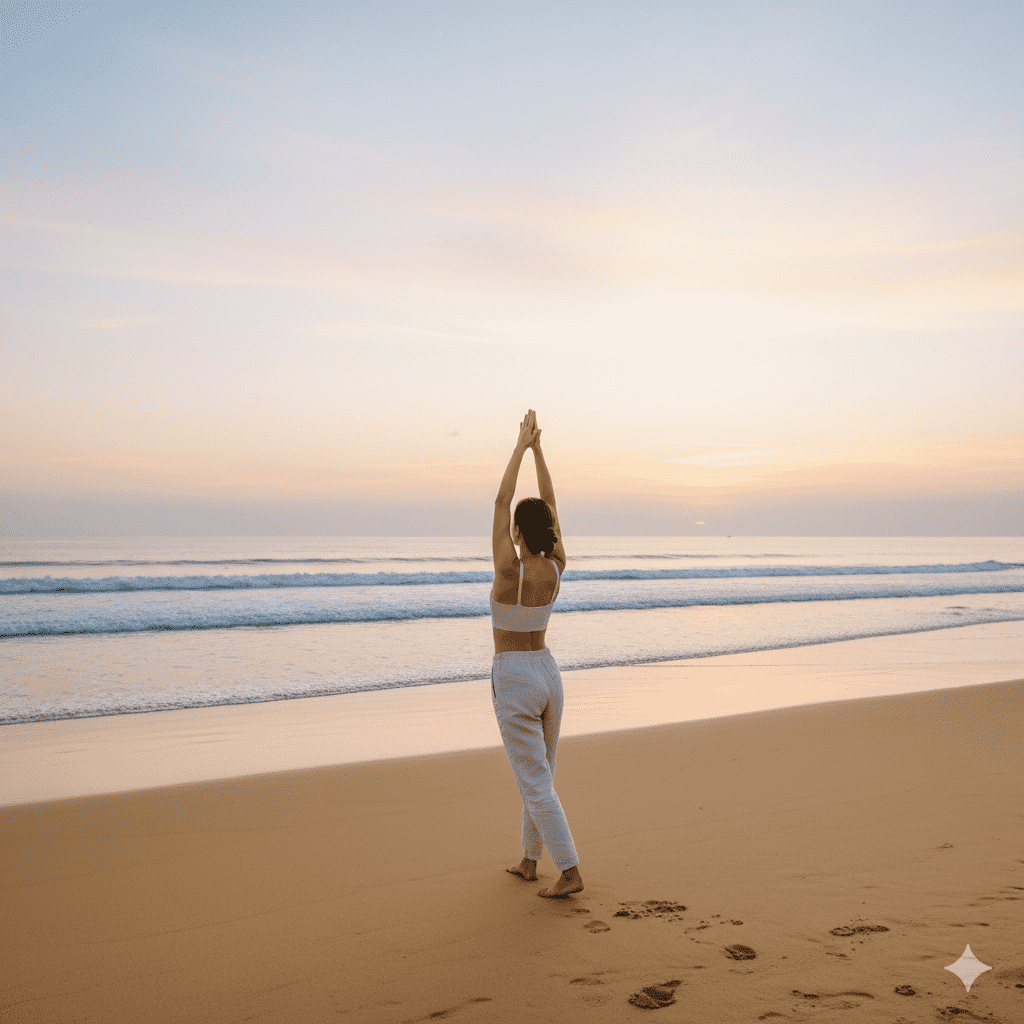
Step 2: Hastauttanasana (Raised Arms Pose)
Inhale to lift the arms overhead, lengthen through the ribs, and create a gentle upper‑back arc without collapsing into the low back for comfort and control. Engage the lower belly lightly to support the lift so the backbend feels spacious and not compressed.
Step 3: Hastapadasana/Padahastasana (Standing Forward Fold)
Exhale to hinge at the hips, keep legs active, and let the neck relax while using a soft knee bend as needed to protect the hamstrings and lumbar spine. Aim for a long torso rather than forcing depth, using blocks if the floor feels distant to maintain alignment.
Step 4: Ashwa Sanchalanasana (Equestrian/Lunge)
Inhale to step one leg back and lengthen the spine forward, stacking the front knee over the ankle and keeping the hips aligned to avoid twisting into the lower back. Gently broaden the chest as you look ahead to encourage thoracic extension without strain.
Step 5: Dandasana to low plank pathway (Plank/transition)
Establish a strong plank with head, ribs, pelvis, and heels in one line, breathing steadily to promote shoulder stability and core engagement. If moving toward a low plank, keep elbows hugged in to protect the shoulders and avoid sagging or piking at the hips.

Step 6: Ashtanga Namaskara (Knees‑Chest‑Chin)
Exhale to lower knees, chest, and chin with elbows close to the sides, maintaining lift through the front body so the shoulders remain supported and active. This eight‑point contact builds upper‑body control while teaching alignment discipline for smoother transitions later.
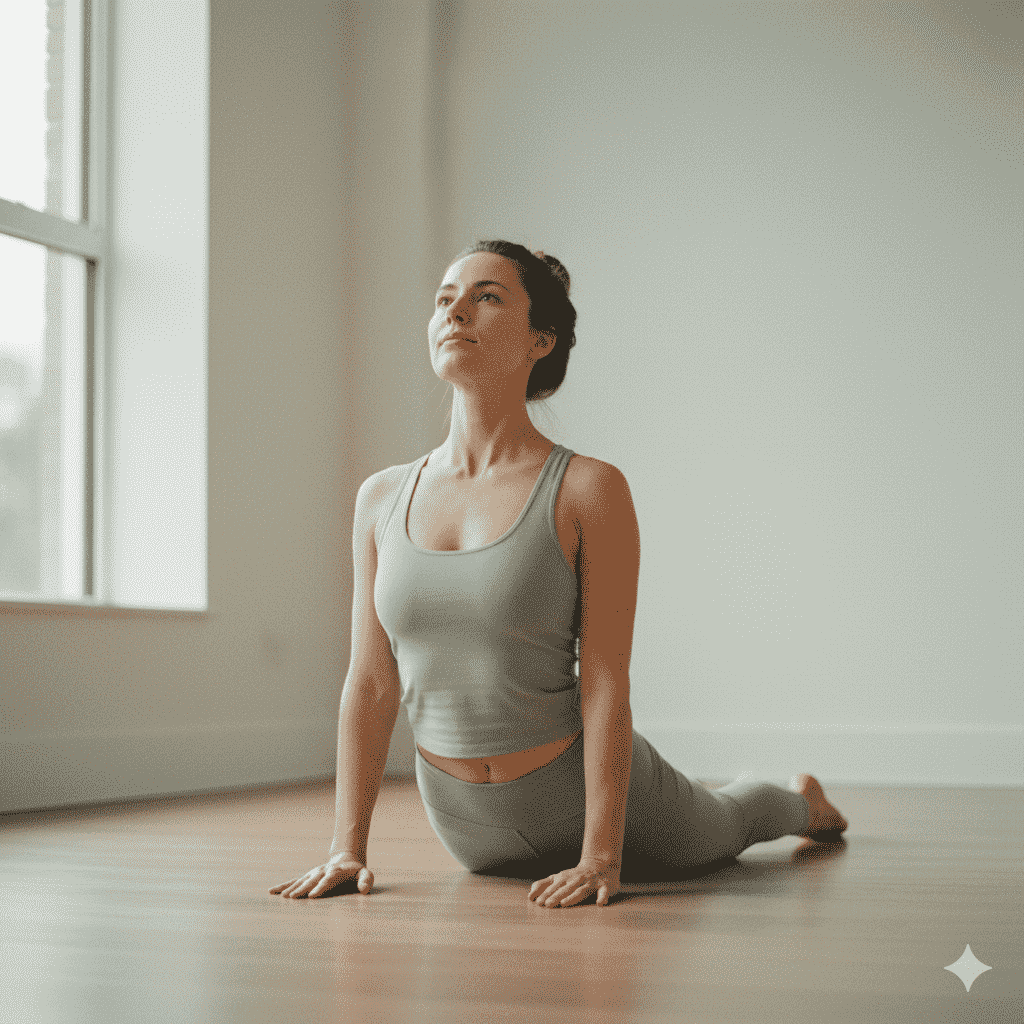
Step 7: Bhujangasana (Cobra)
Inhale to slide forward and lift the chest, drawing the shoulders down and back, and distribute the backbend evenly rather than jamming into the lumbar region. Keep the elbows softly bent or straightened to a comfortable degree, prioritizing a broad chest and long neck.
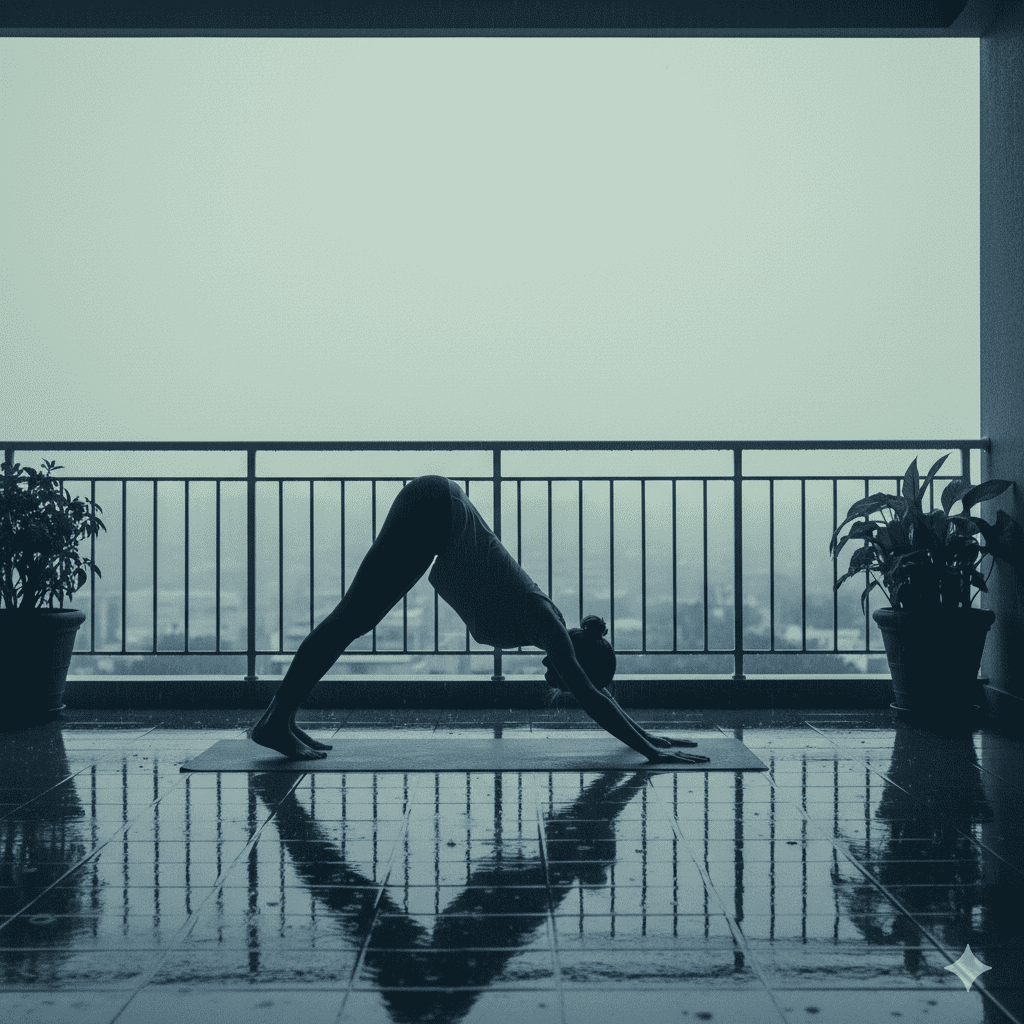
Step 8: Adho Mukha Svanasana (Downward‑Facing Dog)
Exhale to lift the hips into an inverted V, press the floor away, and lengthen the spine while balancing effort between hands and feet. Allow gentle knee softness if hamstrings limit range, emphasizing length through the torso over heel‑to‑floor depth.
Step 9: Ashwa Sanchalanasana (Lunge, other side)
Inhale to step the opposite leg forward, extend the chest, and stack joints cleanly to train symmetry and hip control. Resist collapsing into the lower back by staying long through the torso and engaged through the back leg.
Step 10: Hastapadasana (Standing Forward Fold)
Exhale to refold at the hips with active legs and a relaxed neck, keeping weight balanced through the feet to avoid tipping into the heels or toes. Use supports if needed to maintain alignment, letting the fold deepen naturally with breath rather than force.
Step 11: Hastauttanasana (Raised Arms Pose)
Inhale to rise with a long spine, reach overhead, and avoid excessive lumbar extension by engaging the lower belly to support the arc. Aim for lift through the ribs and space across the collarbones so the position feels light despite the reach.
Step 12: Pranamasana (Prayer Pose)
Exhale to return palms to the heart, level the breath, and stand evenly to complete the cycle with a moment of steadiness and focus. Repeat for additional rounds, keeping breath‑movement synchronization as the primary priority.
Common mistakes and how to fix them
A common pattern is shoulders creeping toward the ears during folds, planks, or transitions, which compresses the neck and reduces stability; draw shoulders down, broaden the chest, and keep the neck long to restore space and strength. Another frequent issue is hips sagging or piking in plank, which stresses the low back or shoulders; organize head, ribs, pelvis, and heels in a single line with light core engagement to distribute load effectively.
In Downward Dog, collapsing into the shoulders or wrists shortens the torso and strains joints; press the floor away, lift from the front body, and send hips up‑back to share effort across the chain. Elbows flaring wide in low plank or knees‑chest‑chin can irritate the shoulders; hug elbows in and track wrists beneath the elbows to preserve joint integrity through transitions.
Finally, breath desynchronization—moving too fast for the breath—tends to unravel technique; slow the tempo and return to one inhale per lift and one exhale per fold to re‑establish a calm flow.
Sun Salutation A vs B (and C)
Sun Salutation A is the streamlined pattern built around fold–plank–backbend–Downward Dog transitions, and it is often introduced first to establish rhythm and baseline alignment.
Sun Salutation B introduces Chair and Warrior I, increasing lower‑body demand and coordination, while C appears less often but serves a similar warm‑up and integration function in certain lineages.
Best time to practice and how many rounds
Traditionally, sunrise is favored for symbolism and gentle ambient conditions, though any consistent time works if it allows steady breath and mindful pacing. Beginners can start with three to five rounds and build gradually over weeks; some communities observe 54 or 108‑round practices during events when sufficiently conditioned.
A 10‑minute beginner flow (practice notes)
Begin with a brief centering in Pranamasana, then complete three to five slow cycles with clear breath cues, pausing briefly in Downward Dog if needed to maintain form and comfort. Close with an easy forward fold and a short relaxation so the nervous system can settle and integrate the mobility and breath work of the sequence.
Safety and modifications
Those with acute back, shoulder, or wrist concerns should reduce range, use supports like blocks, and consider knees‑down transitions to limit joint stress while preserving the pattern. Pregnant and senior practitioners benefit from slower pacing, smaller arcs, and supervised progression so that breath quality and comfort remain primary.
Traditional context and meaning
The twelve mantras honor aspects of the sun—friendliness, radiance, vitality, and illumination—and can be chanted aloud or mentally for a contemplative layer during the same physical sequence. If included, position Surya Dev Namaskar Mantra as optional so breath synchronization and alignment remain central for technique and safety.
Conclusion
12 Surya Namaskar benefits are a compact, versatile practice that trains synchronized breath and movement through a coherent set of twelve postures, making it equally useful as a daily reset or a complete session when time is limited. By focusing on steady pacing, clear inhale–exhale cues, simple alignment checks, and gradual progression of rounds, practitioners can realize flexibility, strength, and focus benefits while minimizing common errors.
What breathing pattern should be followed during Surya Namaskar?
Inhale on lifts and openings, exhale on folds and stabilizations to keep cadence smooth and maintain control through all twelve steps.
Are there beginner safety tips to reduce strain?
Scale range of motion, use blocks in folds and lunges, adopt knees‑down transitions where needed, and keep pace slow enough to match steady breathing.
How long should a daily Surya Namaskar routine be for starters?
A 10–15 minute session with three to five rounds at a measured tempo is a practical starting point, progressing gradually as comfort improves.
When is the best time to practice Surya Namaskar?
Sunrise is traditional, but any consistent time that allows calm focus, an empty or light stomach, and unhurried breathing works well.
What are common mistakes to avoid?
Rushed breathing, shoulder hunching, hips sagging or piking in plank, collapsing in Downward Dog, and elbows flaring during lowering transitions.